はじめに
こんにちは、iOSアプリ開発グループの神山です。
SwiftUIについて絶賛勉強中なのですが、今回はTextに関連するUIコンポーネントの作り方についてまとめてみました。
具体的には以下のコンポーネントについてご紹介していきます。
- Text(Label)
- TextField
- TextEditor
Text(Label)
Text(Label)はUIKitのUILabelに相当し、LabelについてはiOS14から使用することのできるコンポーネントになります。
Labelではテキスト以外に画像も一緒に表示することができます。
import SwiftUI
struct ContentView: View {
var body: some View {
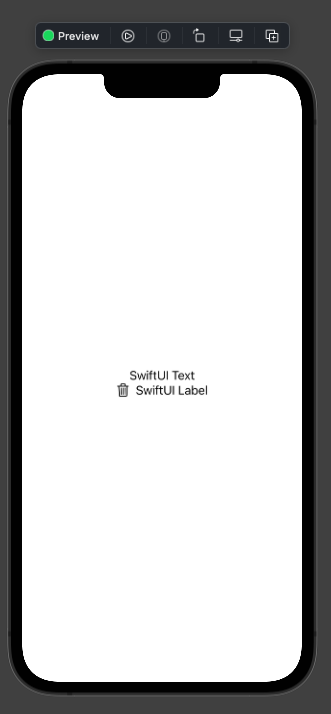
VStack(alignment: .center) {
Text("SwiftUI")
Label("SwiftUI Label", systemImage: "trash")
}
}
}
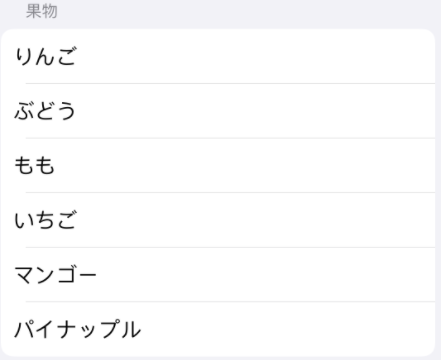
プレビューで確認すると以下のようになりました。表示するだけならとても簡単にできますね。
Viewのカスタマイズ
SwiftUIのUIコンポーネントに対して、色の設定やフォントの設定などをカスタマイズする方法についてですが、SwiftUIではViewをカスタマイズするためのメソッドとして
modifier(_:)があり、メソッドチェーンのように複数記述することもできます。
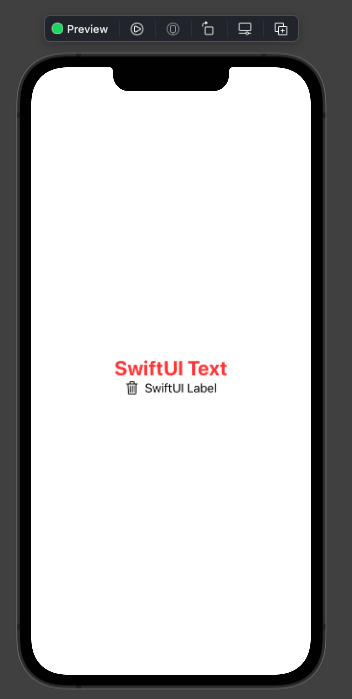
先ほど作成したTextに色とフォントのModifierを適用させてみましょう。
struct ContentView: View {
    var body: some View {
        VStack(alignment: .center) {
            Text("SwiftUI Text")
                .foregroundColor(.red)
                .font(.title)
                .fontWeight(.bold)

            Label("SwiftUI Label", systemImage: "trash")
        }
    }
}
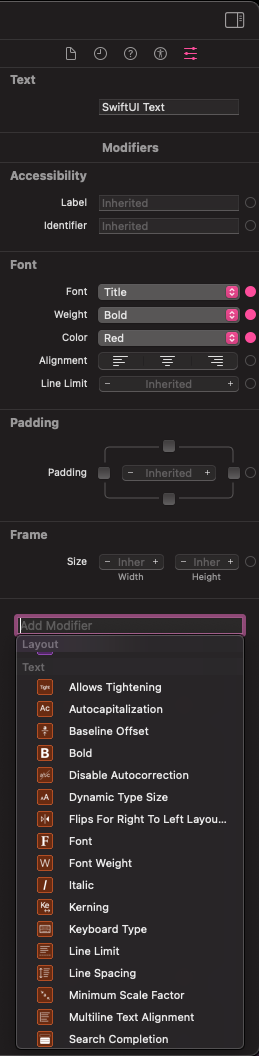
Modifierはコードで記載して設定することもできますが、アトリビュートインスペクタでも設定することができます。アトリビュートインスペクタ内で設定したものは自動でコードに反映されるため、より簡単にModifierを適用することが可能です。
※ アトリビュートインスペクタ画面は[option + command + 4]で開くことができ、コード内のTextを選択することで以下の画像のようにModifierの一覧を確認できます。
TextField
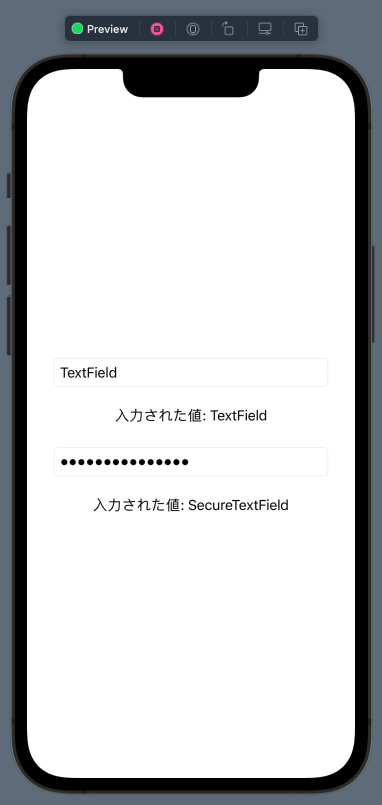
TextFieldはUIKitのUITextFieldに相当します。
またパスワード入力用のSecureFieldも提供されています。
struct ContentView: View {
    @State private var textFieldText = ""
    @State private var secureTextFieldText = ""

    var body: some View {
        VStack(alignment: .center) {
            TextField("TextField", text: $textFieldText)
                .textFieldStyle(.roundedBorder)
                .padding()

            Text("入力された値: \(textFieldText)")

            SecureField("SecureField", text: $secureTextFieldText)
                .textFieldStyle(.roundedBorder)
                .padding()

            Text("入力された値: \(secureTextFieldText)")
        }
        .padding()
    }
}
Modifier
TextFieldの主なModifierについてご紹介します。
textFieldStyle()TextFieldの枠線スタイルの指定
| plain | roundedBorder |
|---|---|
 |
 |
multilineTextAlignment()テキストを寄せる位置の指定
| leading | center | trailing |
|---|---|---|
 |
 |
 |
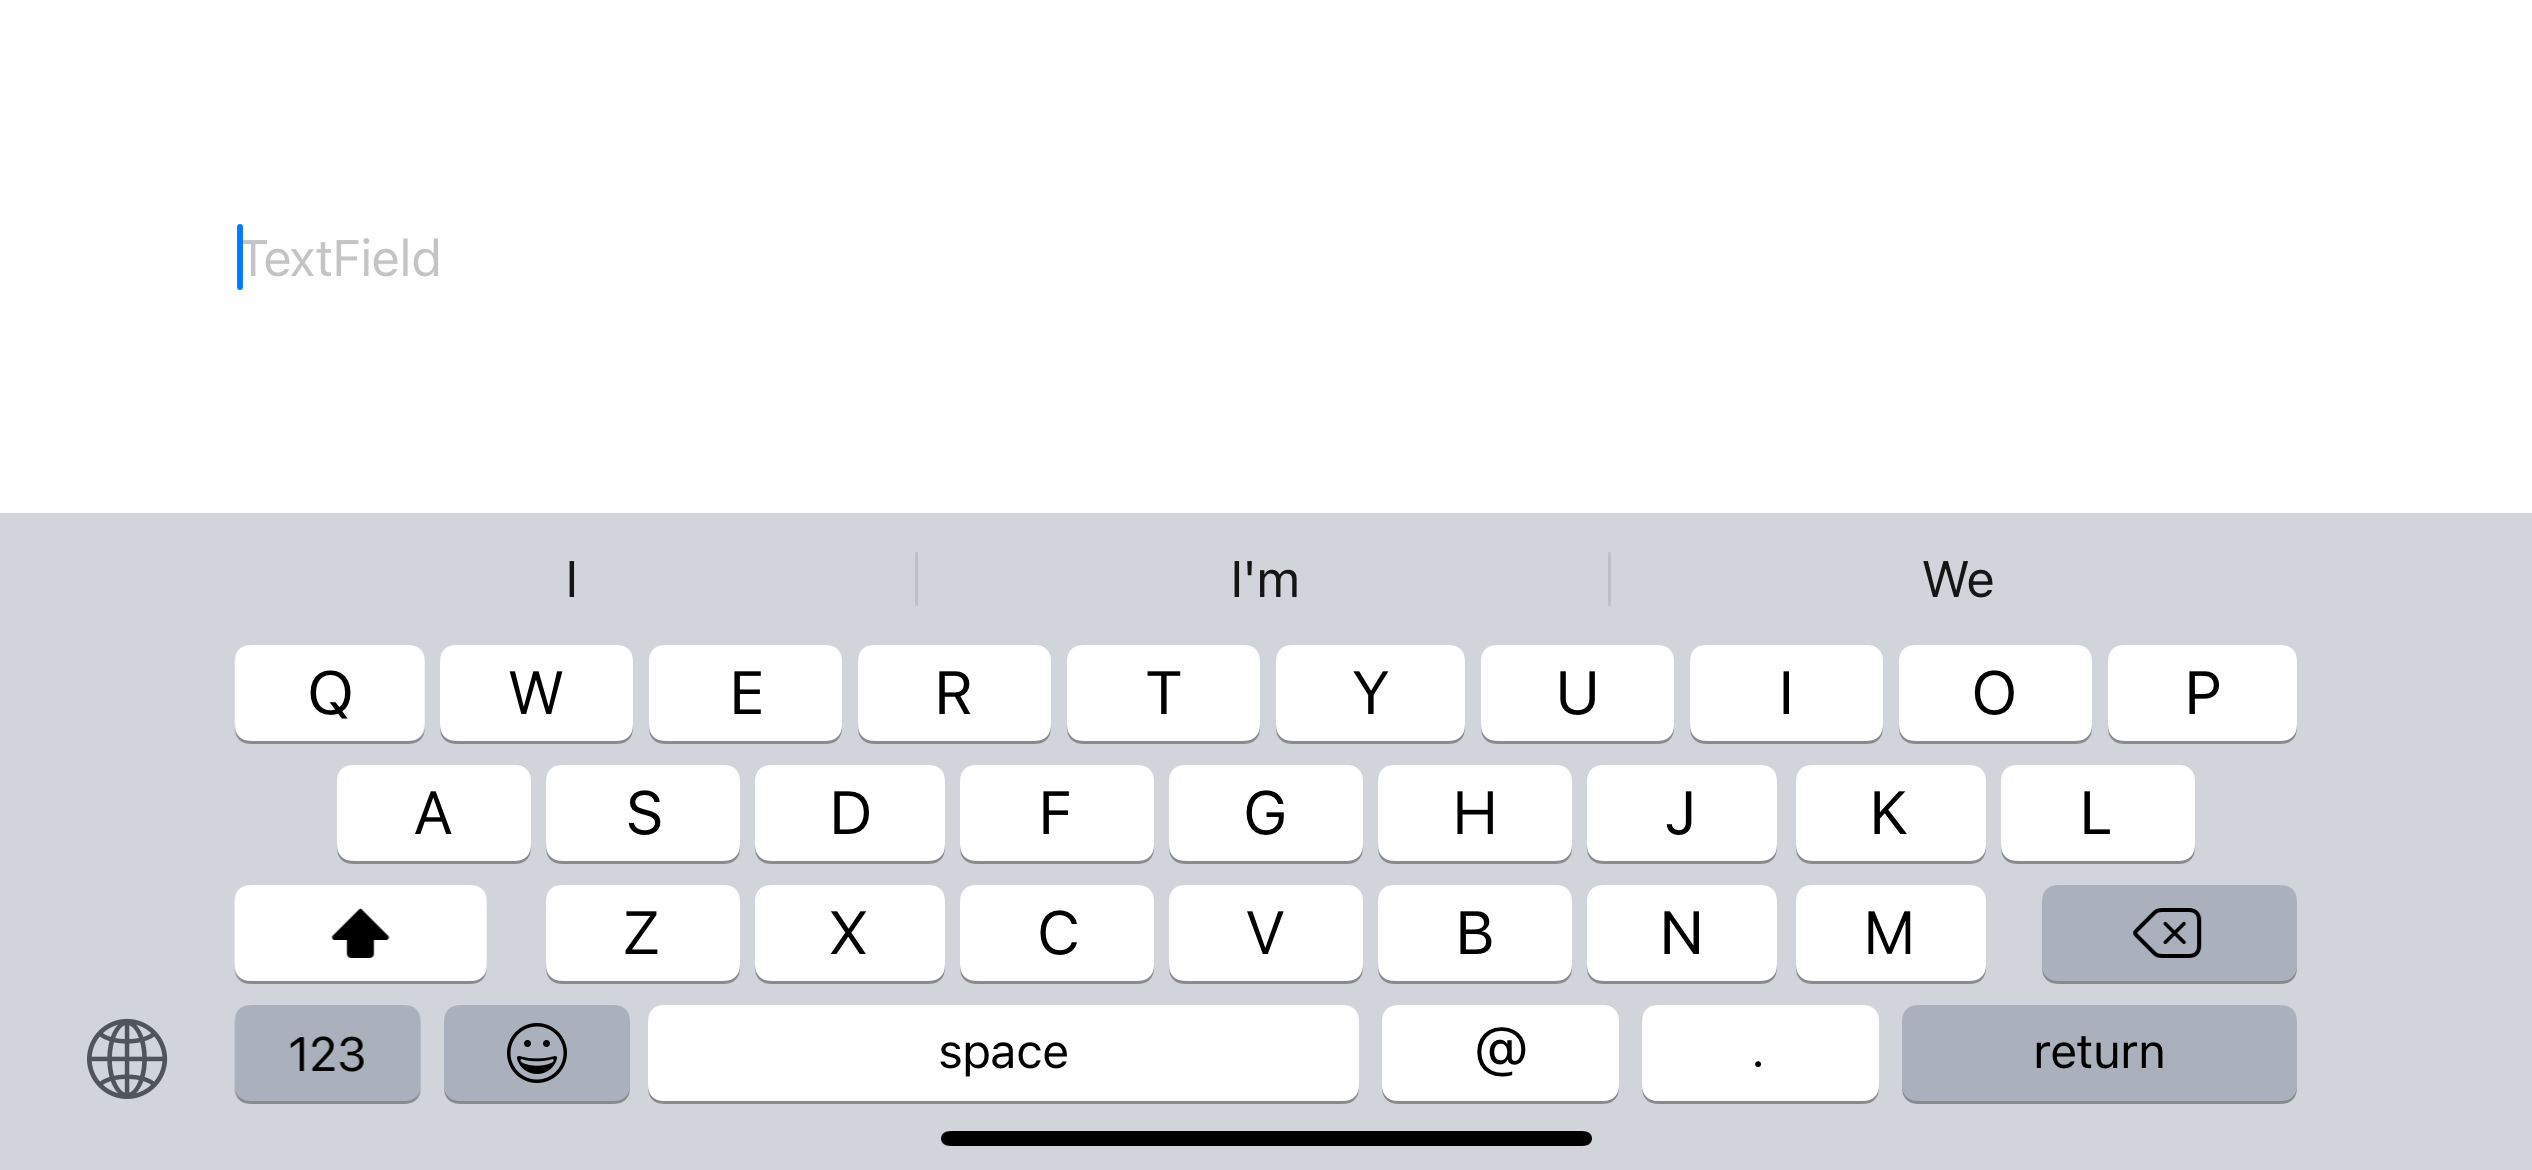
keyboardType表示するキーボードの種類を指定
| URL | EmailAddress | NumberPad |
|---|---|---|
 |
 |
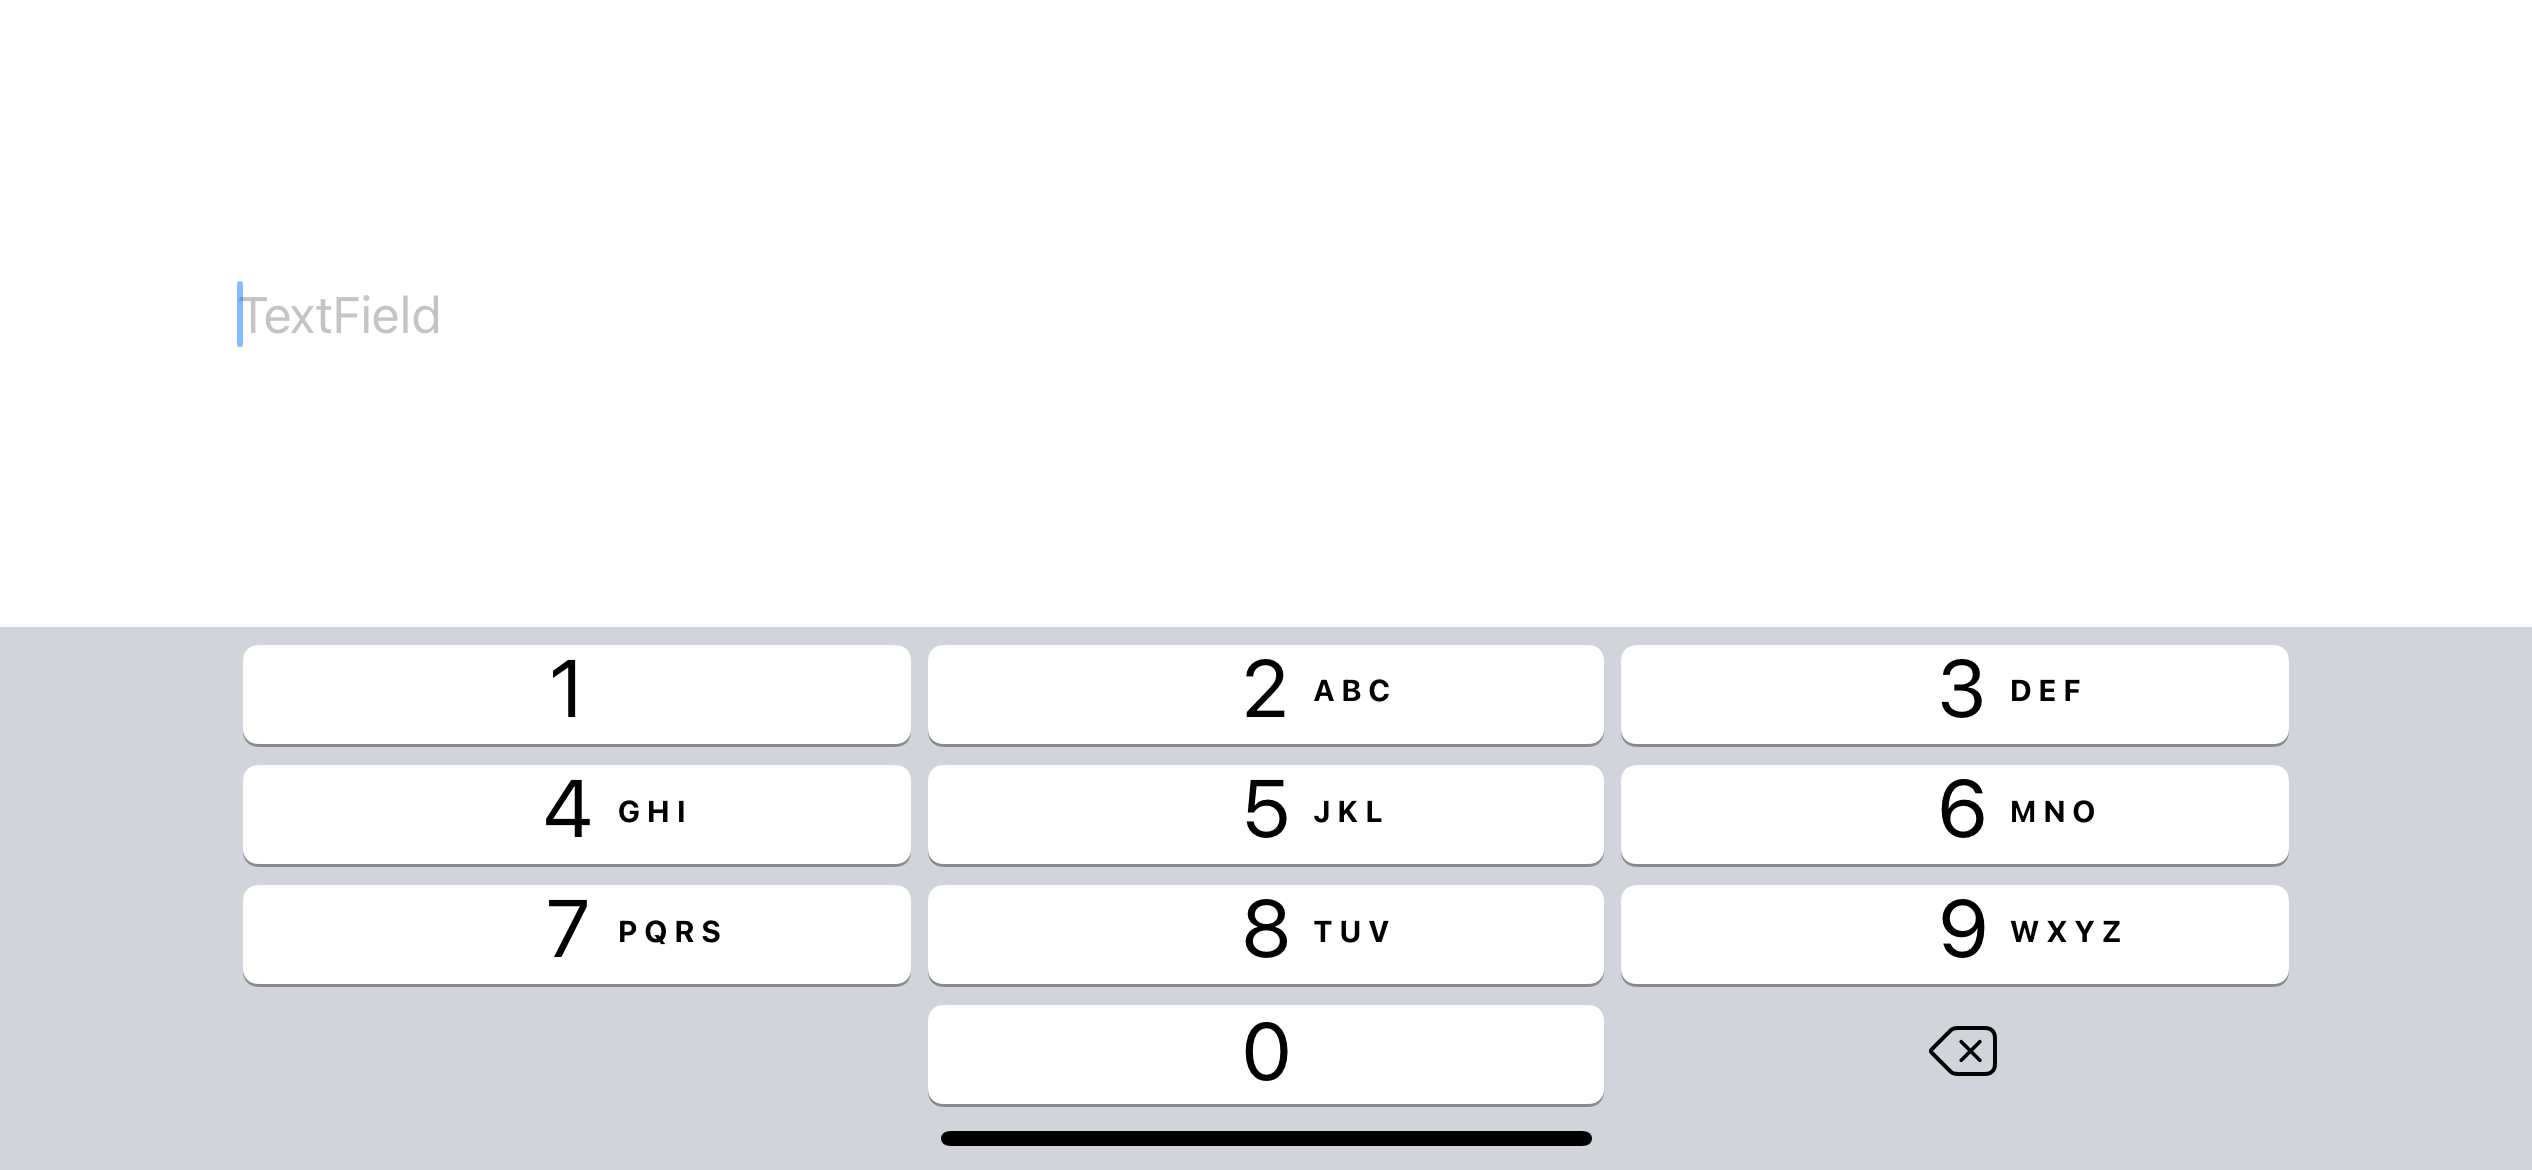 |
keyboardTypeは上記で挙げたもの以外にもあり、全部で13種類あります。それぞれの使用用途に合わせて適切なものを指定しましょう。
TextEditor
TextFieldはUIKitのUITextViewに相当します。
struct ContentView: View {
    @State private var text: String = """
    A text editor view allows you to display and edit multiline,
    scrollable text in your app’s user interface.
    複数行のスクロール可能なテキストを表示・編集できる
    """

    var body: some View {
        VStack(alignment: .center) {
            TextEditor(text: $text)
                .frame(width: 300, height: 100)
                .padding()
        }
        .padding()
    }
}
Modifier
TextEditorの主なModifierについてご紹介します。
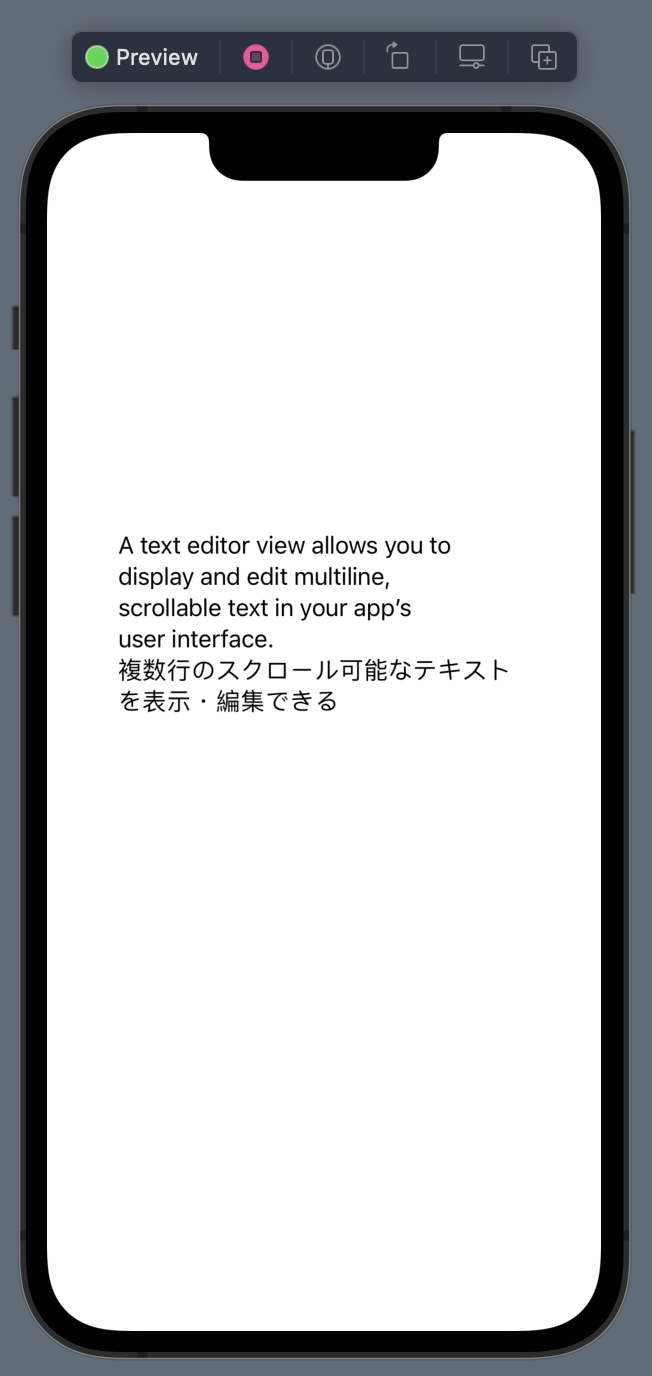
fontテキストのフォントの指定
| title | caption |
|---|---|
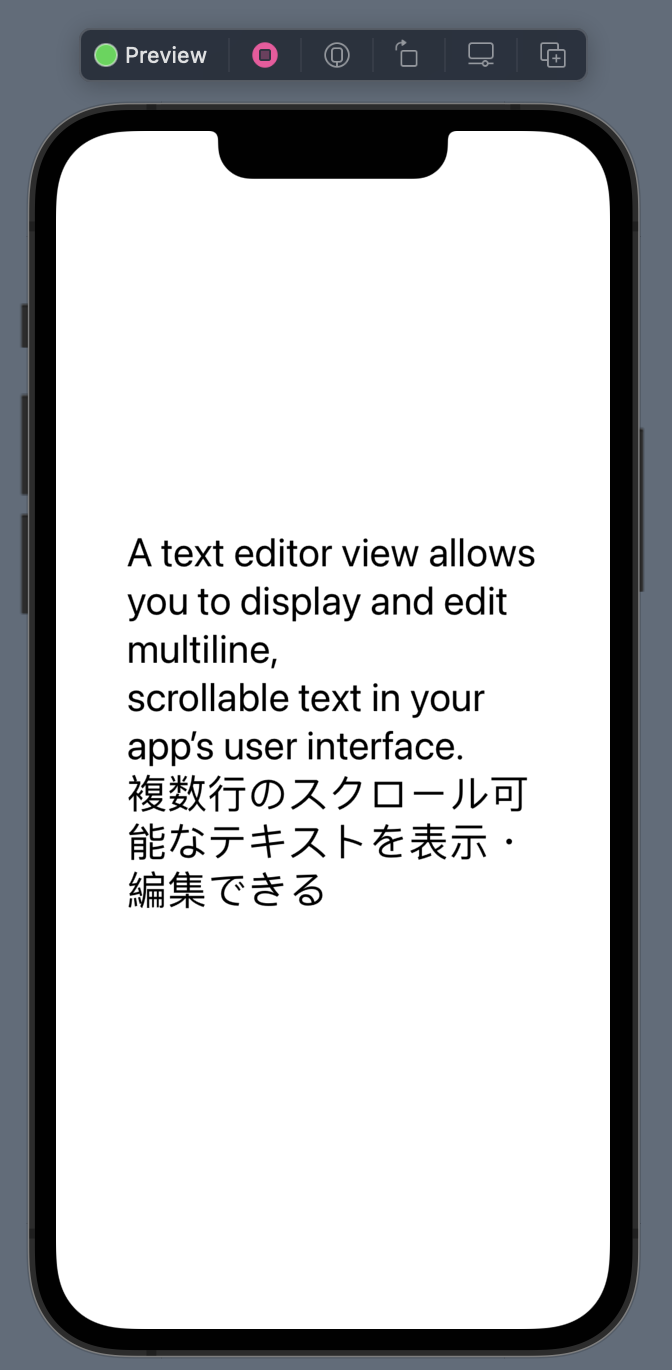 |
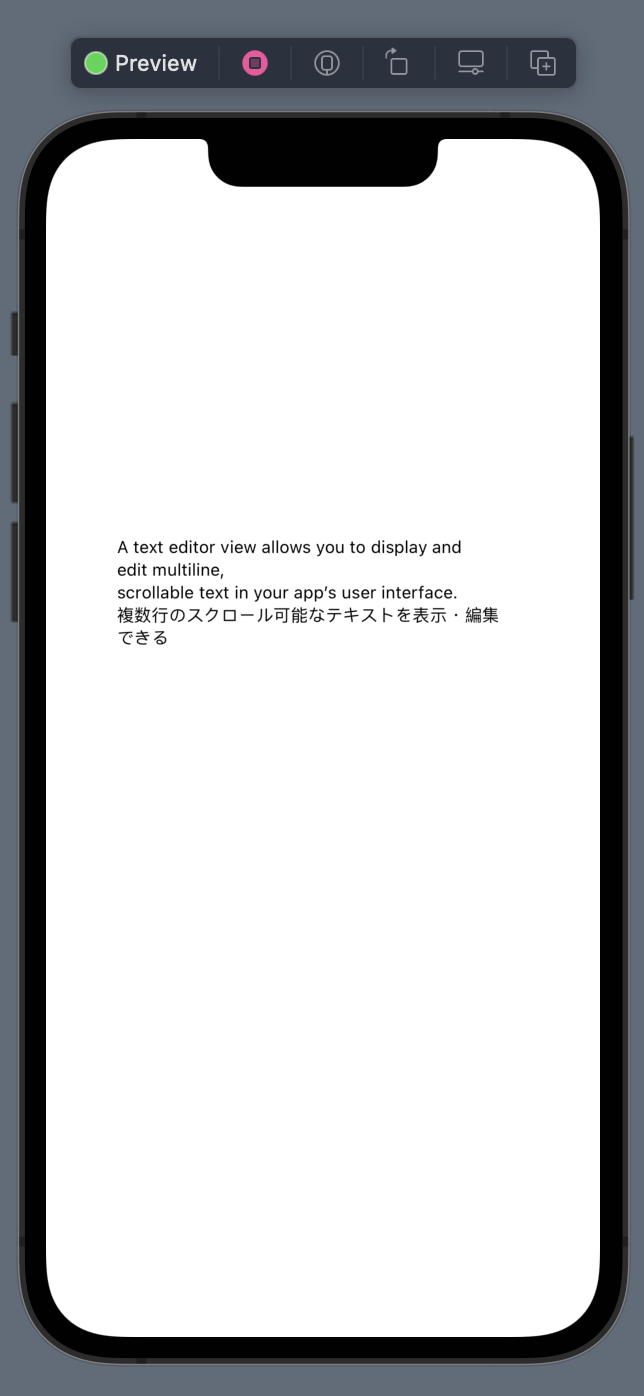 |
foregroundColorテキストのフォント色の指定
| red | green |
|---|---|
 |
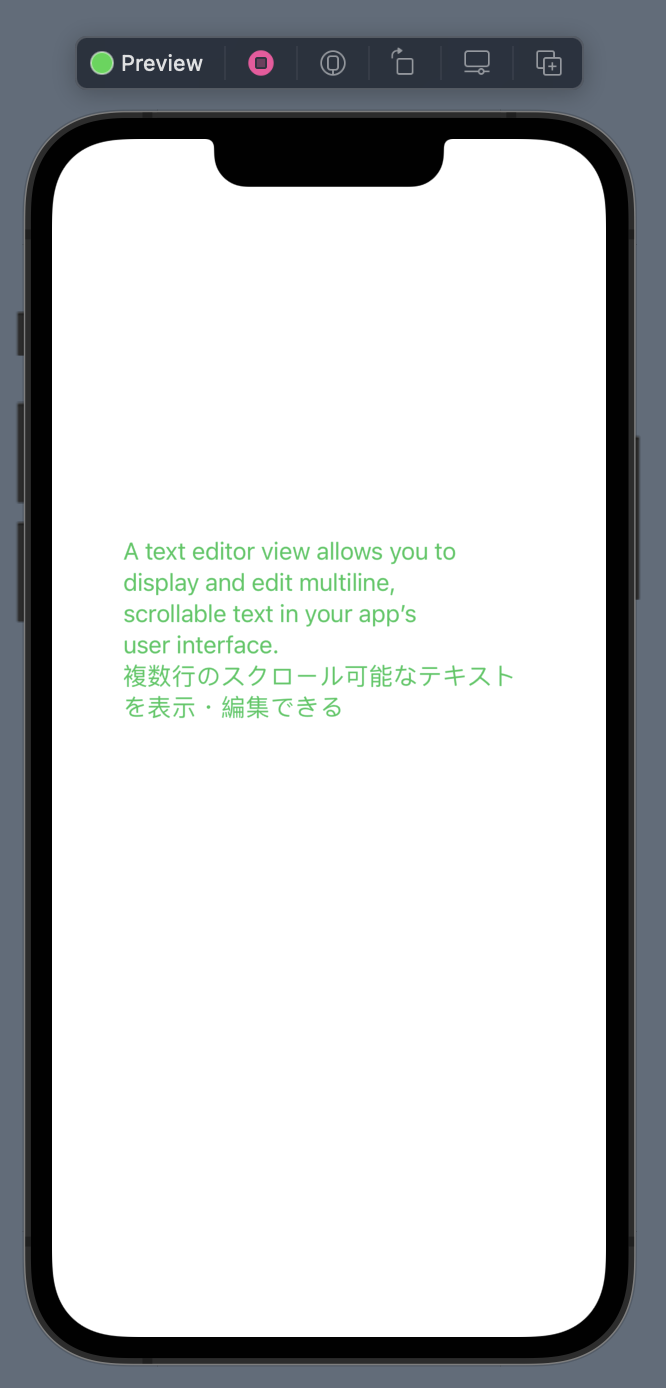 |
lineSpacingテキストの行間のスペースを指定
| 0 | 10 | 20 |
|---|---|---|
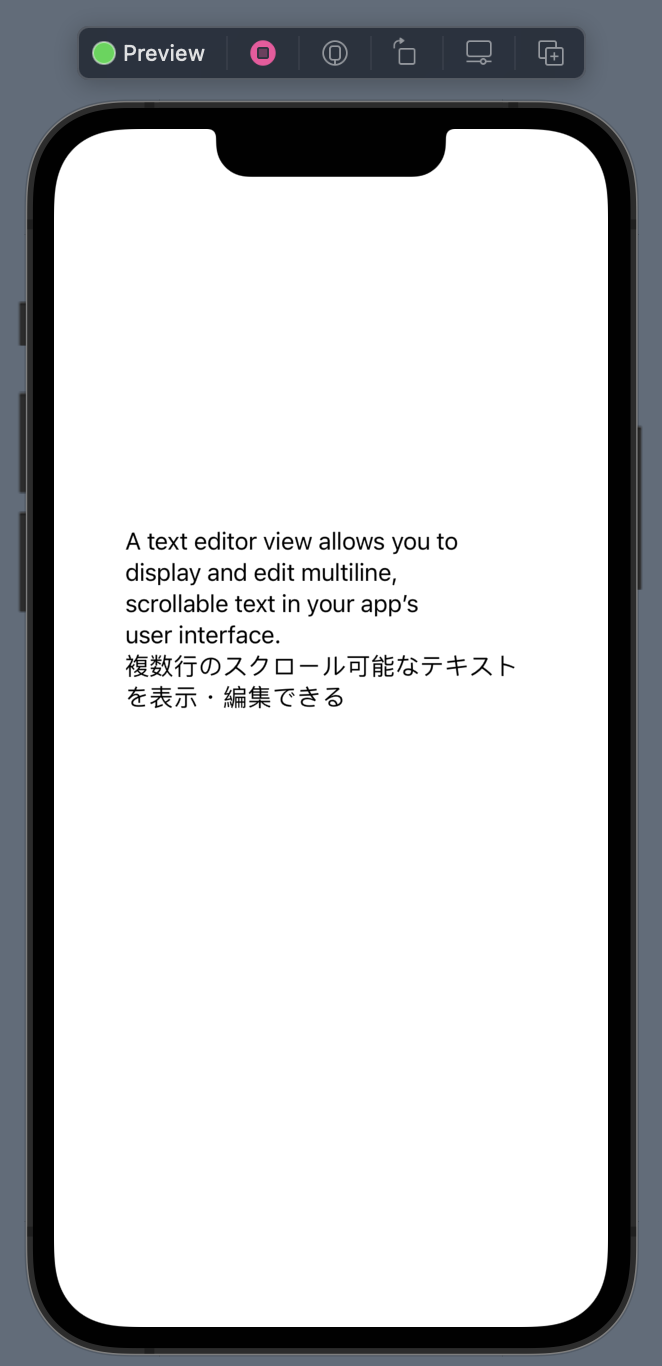 |
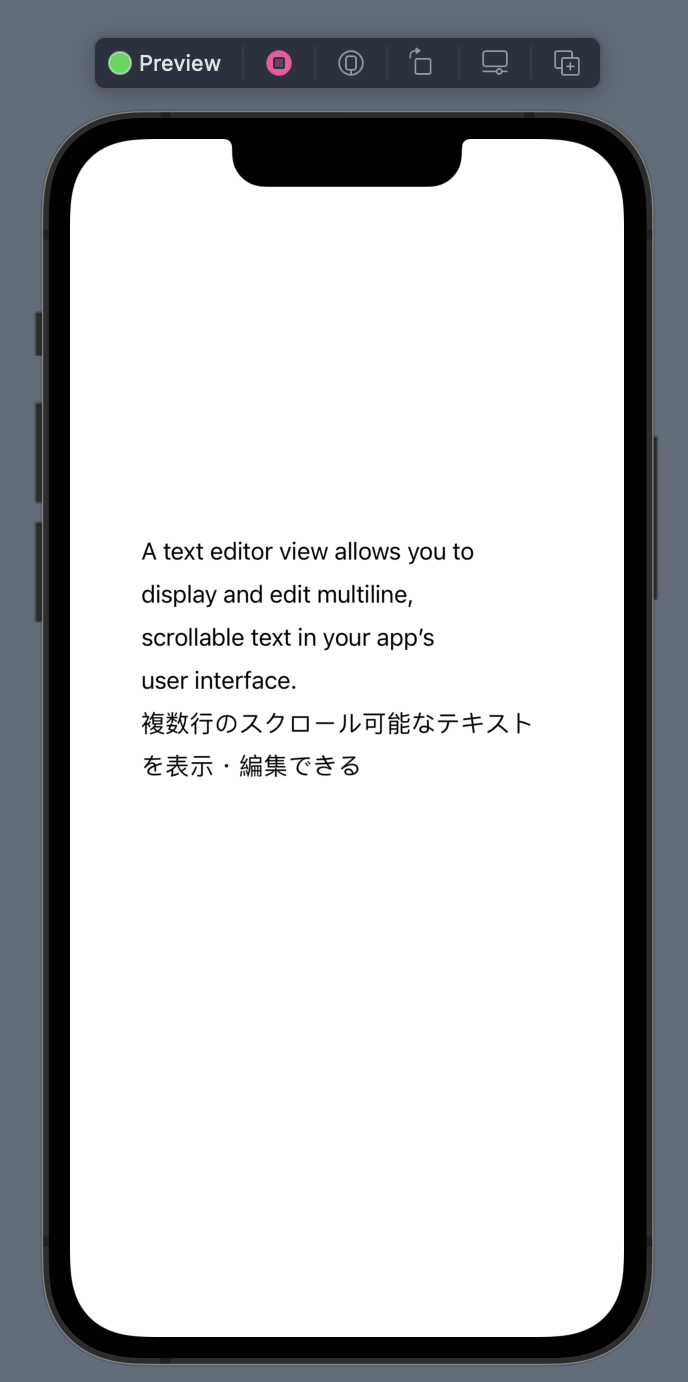 |
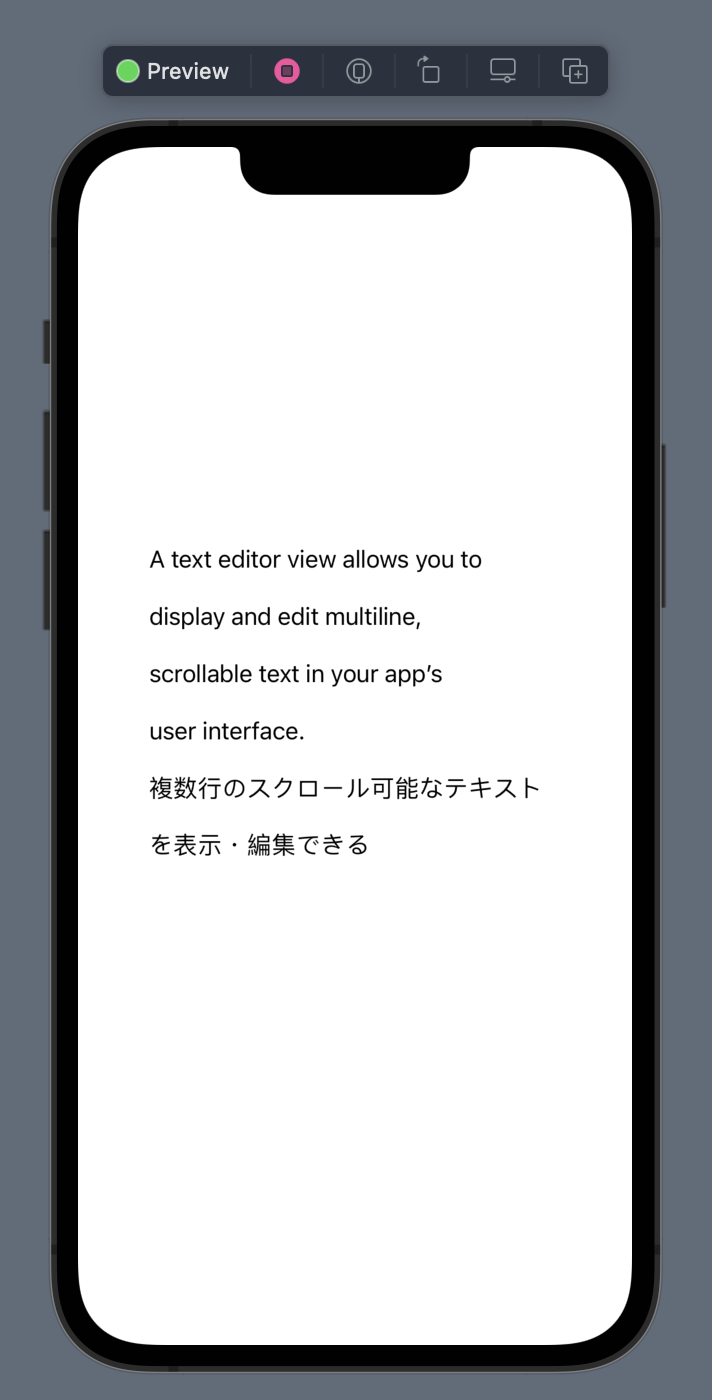 |
おまけ
Modifierについては自分でカスタマイズすることもできます。
これは同じようなModifierを使用している箇所に対して自作のModifierを適用させることで、コードの冗長化を防ぐことができます。
例えば、複数のModifierを適用させたTextを作成しようとすると以下のようになります。
struct ContentView: View {
    var body: some View {
        VStack(alignment: .center, spacing: 16) {
            Text("テキスト1")
                .font(.caption2)
                .padding(10)
                .overlay(RoundedRectangle(cornerRadius: 15).stroke(lineWidth: 1))
                .foregroundColor(Color.blue)

            Text("テキスト2")
                .font(.caption2)
                .padding(10)
                .overlay(RoundedRectangle(cornerRadius: 15).stroke(lineWidth: 1))
                .foregroundColor(Color.red)

            Text("テキスト3")
                .font(.caption2)
                .padding(10)
                .overlay(RoundedRectangle(cornerRadius: 15).stroke(lineWidth: 1))
                .foregroundColor(Color.yellow)
        }
    }
}
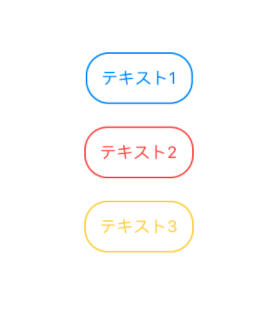
色だけが違いますが、フォントのサイズ、余白の広さ、角丸の丸みは全て同じです。
違う箇所でこの一連のModifierを使いたい場合でも、わざわざこれらを全て定義しなければならないのでコードの冗長化やメンテナンス性の低下に繋がります。これを防ぐためにModifierをカスタマイズしてみましょう。
struct CustomModifier: ViewModifier {
    let color: Color

    func body(content: Content) -> some View {
        content
            .font(.caption2)
            .padding(10)
            .overlay(RoundedRectangle(cornerRadius: 15).stroke(lineWidth: 1))
            .foregroundColor(color)
    }
}

extension View {
    func customModifier(color: Color) -> some View {
        modifier(CustomModifier(color: color))
    }
}

struct ContentView: View {
    var body: some View {
        VStack(alignment: .center, spacing: 16) {
            Text("テキスト4")
                .customModifier(color: .green)

            Text("テキスト5")
                .customModifier(color: .black)

            Text("テキスト6")
                .customModifier(color: .yellow)
        }
    }
}
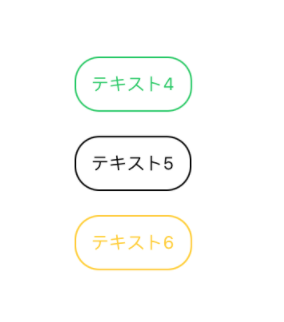
カスタマイズしたModifierを適用させるだけなので1行で記述することができました。
※ ViewModifierとして作成できるのはView Protocolに準拠しているModifierのみです。そのため例えば、Textの
fontweightやmultilineTextAlignmentのような特定のコンポーネントにしか適用できないものは適用させることができません。
これらも同時に適用させたModifierを作りたい場合は、それぞれのコンポーネントに対して拡張関数を作成するなどをする必要があります。
extension Text {
    func textModifier(color: Color) -> some View {
        self
            .font(.caption2)
            .fontWeight(.bold) // Viewに準拠していないModifier
            .multilineTextAlignment(.center) // Viewに準拠していないModifier
            .padding(10)
            .overlay(RoundedRectangle(cornerRadius: 15).stroke(lineWidth: 1))
            .foregroundColor(color)
    }
}

struct ContentView: View {
    var body: some View {
        VStack(alignment: .center, spacing: 16) {
            Text("テキスト")
                .textModifier(color: .red)
        }
    }
}
さいごに
今回はコンポーネントの作成と一緒にModifierについてもご紹介させていただきました。
コードの冗長化を防ぐためにも積極的にModifierはカスタマイズしていくことが必要だと分かりました。
TextFieldなどはイベント取得のModifierもあるため今後さらに調べてまとめていこうと思います。
最後まで記事を読んで頂き、ありがとうございました。
参考文献
https://developer.apple.com/documentation/swiftui/viewmodifier
神山義仁
iOSエンジニアです。